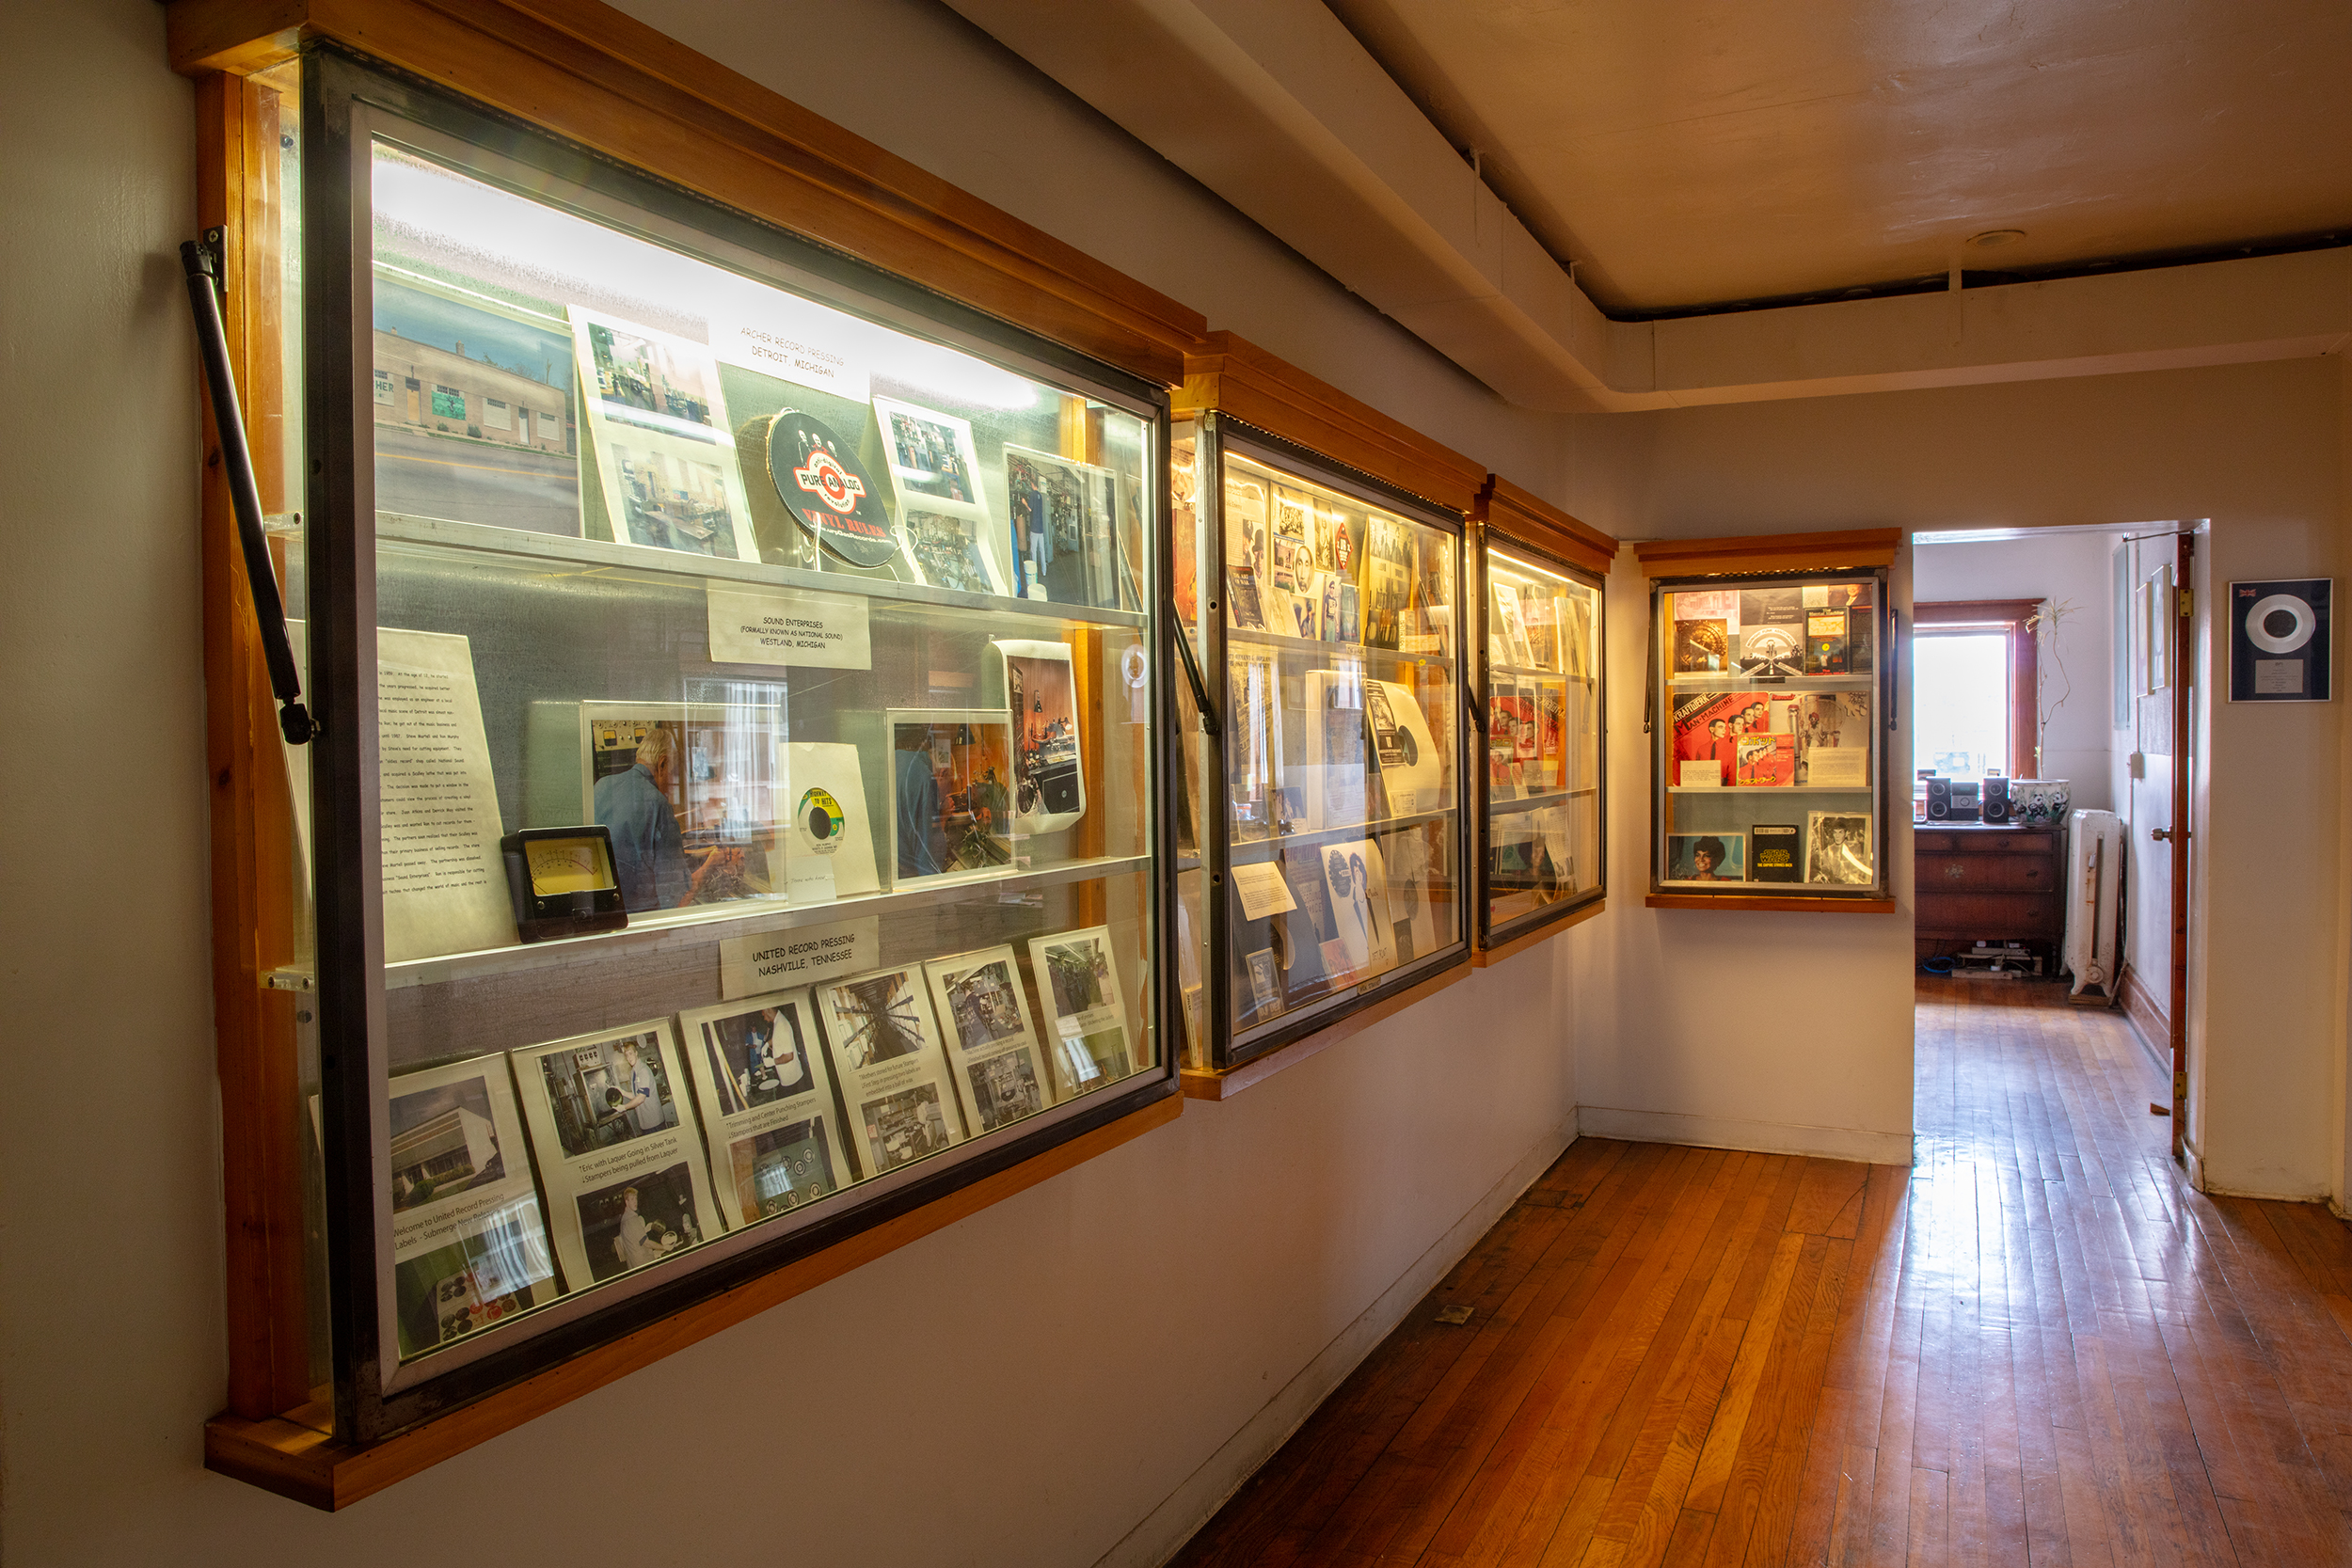
Museum, artist incubator, distro, and record store—Submerge and Underground Resistance represents the interconnected Detroit music community.

These inspiring female producers have left their marks on the music industry and continue to carve space for newcomers.

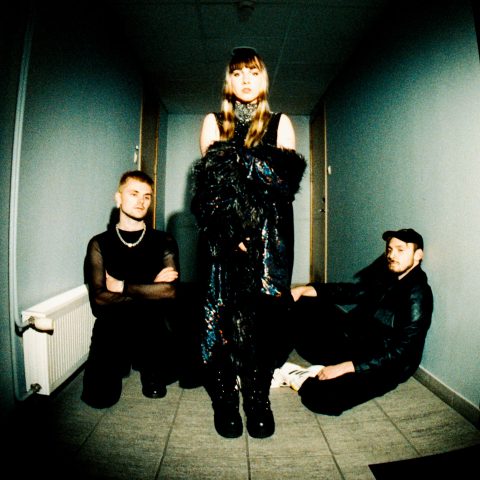
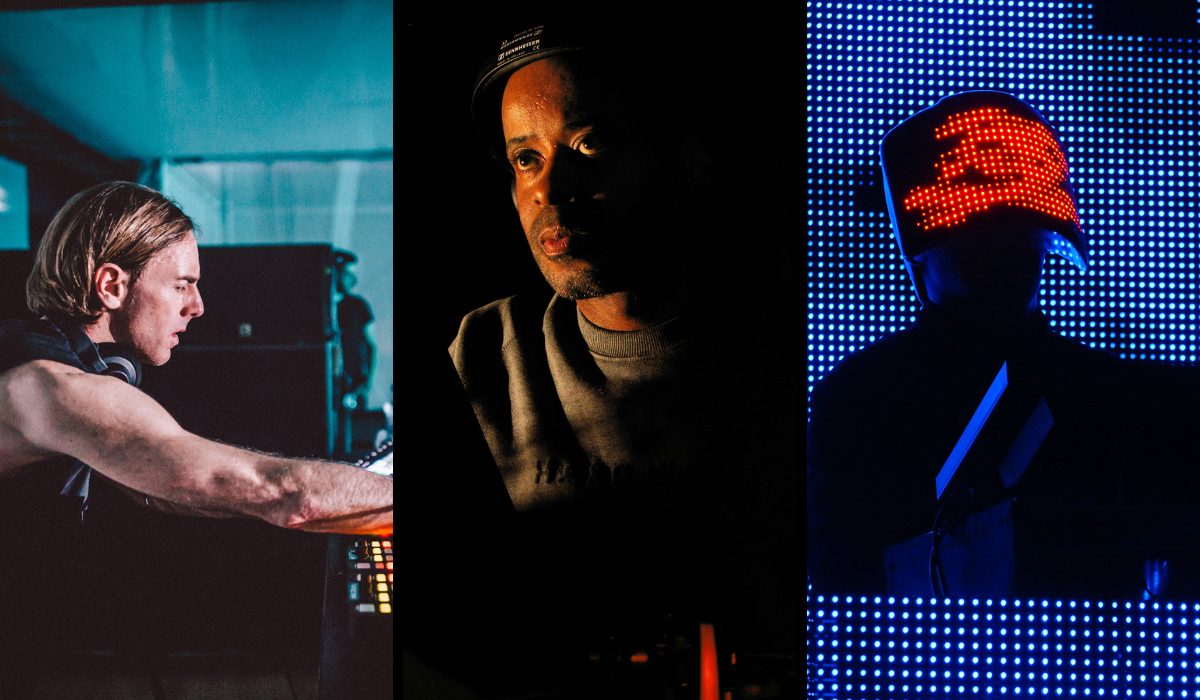
A group of eclectic Icelandic artists offer unique perspectives on electronic music performance, their home country, and more.

“Axel F” is the inescapable theme song of the classic '80s romp Beverly Hills Cop. Learn about the oddball hit and its pioneering creator.
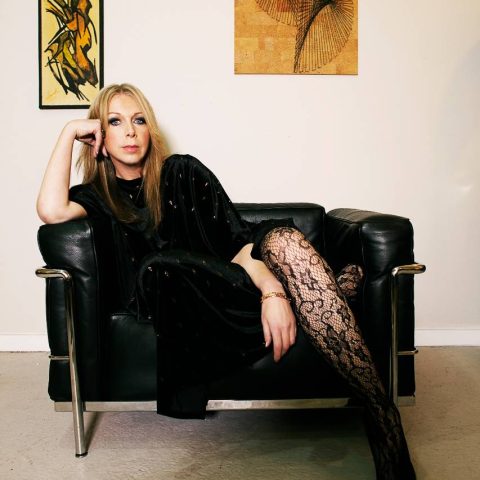
Jane Weaver's latest album is a self-contained universe. The artist discusses shaking up her studio process, cinema, and the groove.
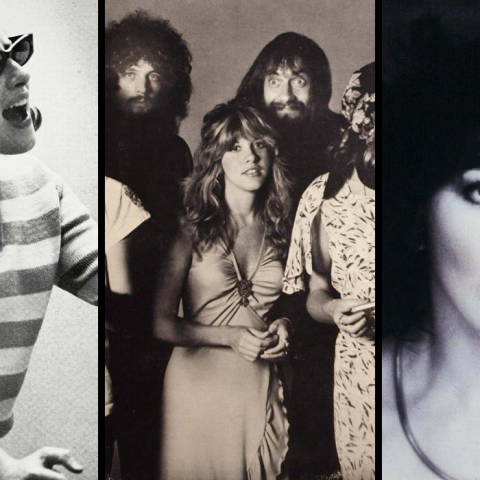
Social media can reinvigorate vintage hits and help them reach broad new audiences. Here are some classic songs that got a second spin.
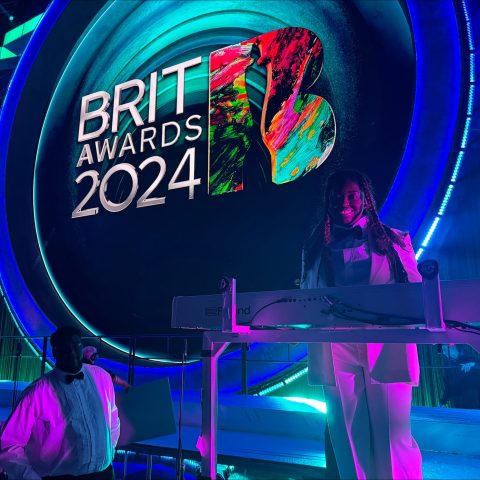
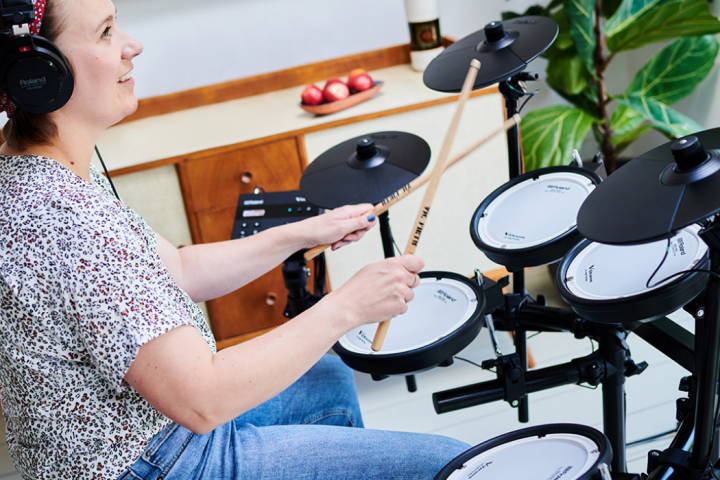
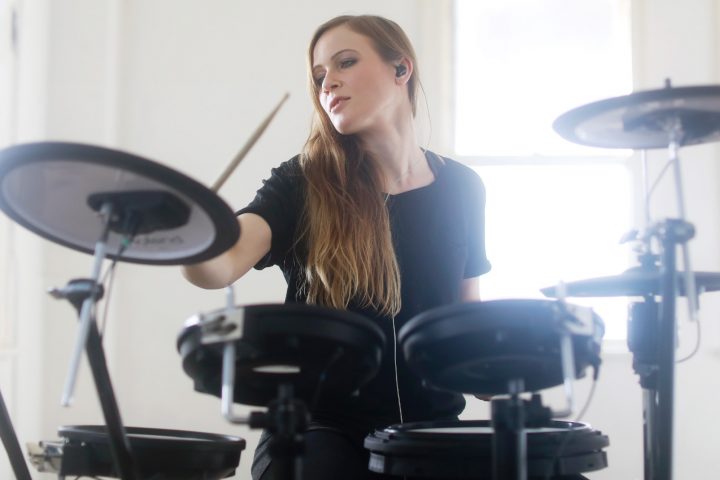
The prolific player shares her thoughts on touring with RAYE, finding success in the music industry, and her Roland gear.
The brainchild of housemates recording late-night jams onto cassette, Night Tapes explains the process behind their atmospheric dream pop.

Here's a place to start exploring the massive catalog of Madlib, one of the finest producers to ever touch a beat pad.

Many artists and releases played a pivotal role in shaping the L.A. Beat Scene. Here's a variety of key sounds from a unique musical moment.
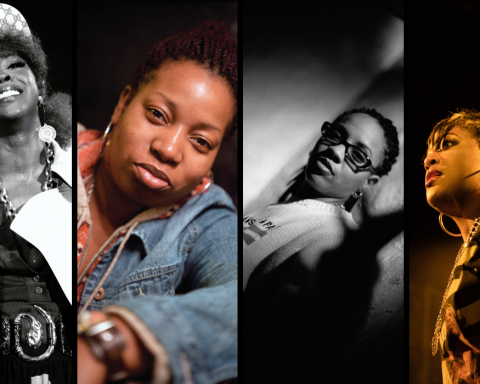
Before hip-hop was the world's most dominant musical genre, several groundbreaking women blazed a fiery trail for others to follow.
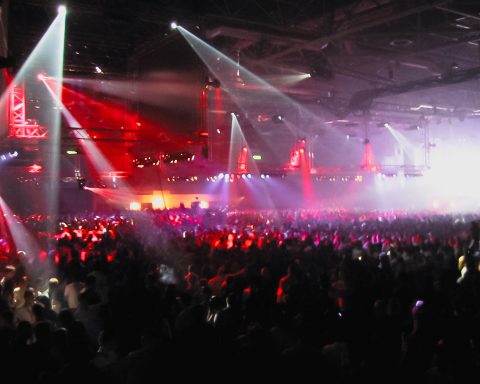
A string of artists and labels shaped trance across the '90s and early aughts. Here's a selection of tracks from the genre’s golden age.

For the uninitiated, we provide a roadmap to the formidable discography of rap’s foremost supervillain: MF DOOM.
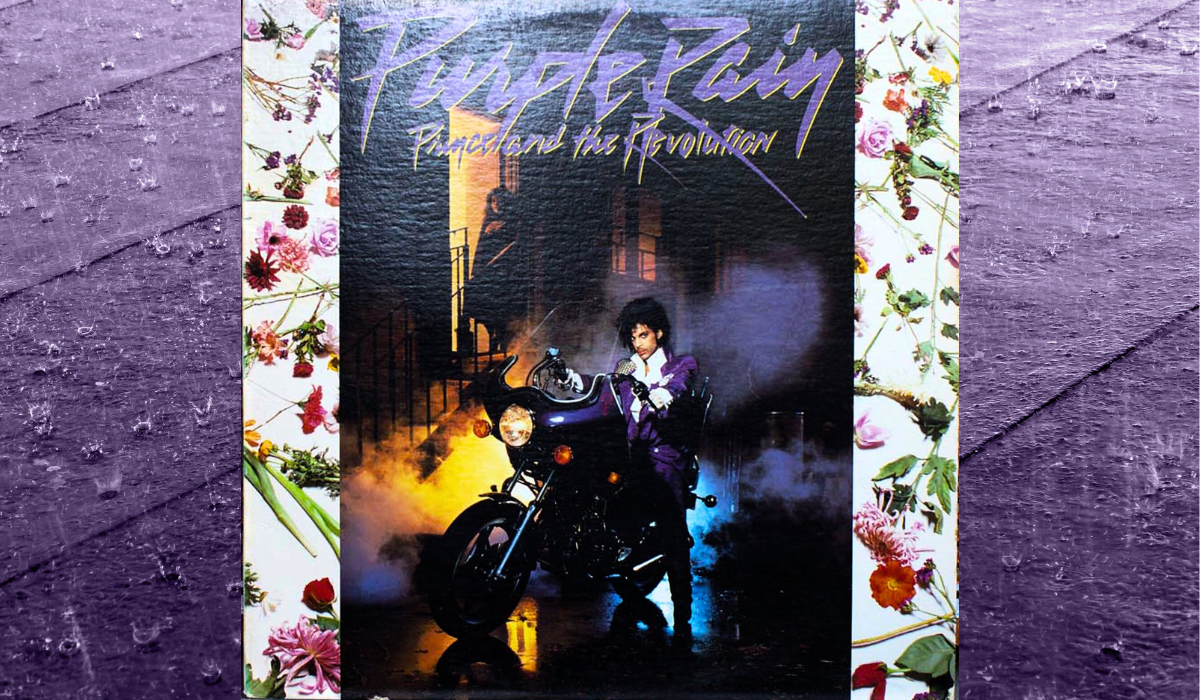
The “Purple Rain” drum parts by Bobby Z. provide a classic example of how to play a power ballad for maximum emotional impact.
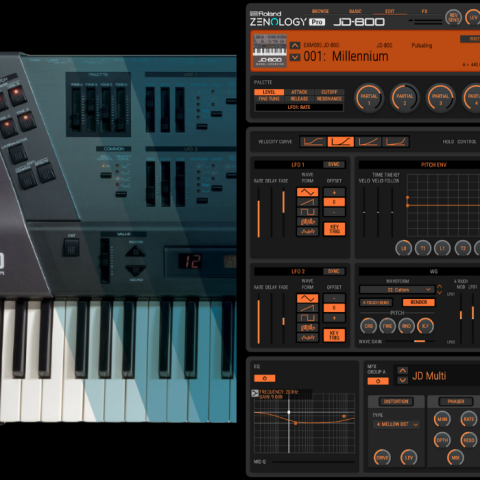
The JD-800 dominated the '90s with massive textures and a front panel that pushed limits. Learn to create immense layers with the instrument.

The drumming on the eternally funky “Let’s Groove” demonstrates how powerful disco rhythms can make listeners get up and move.
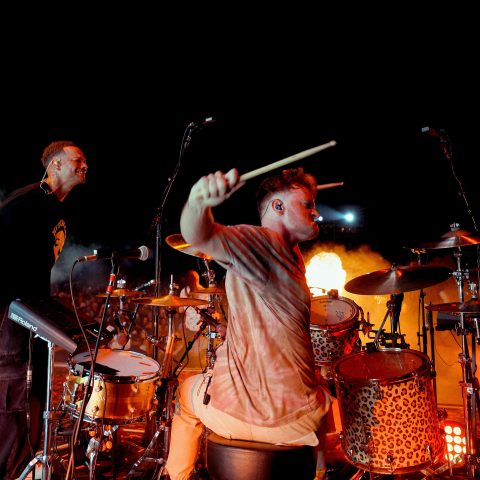
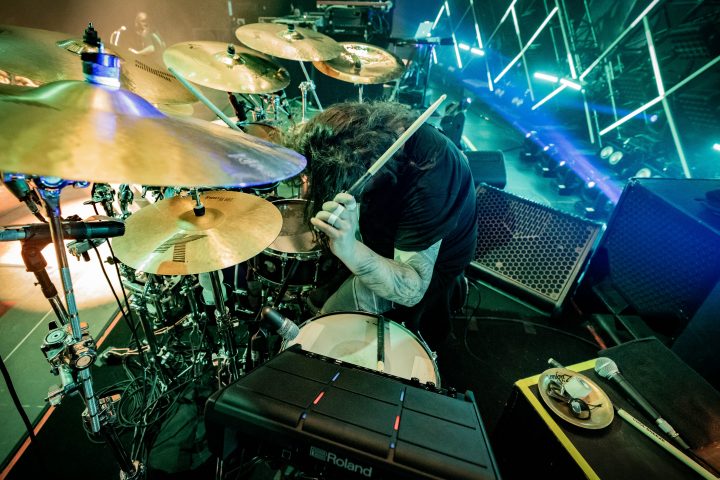
Josh Manuel discusses hybrid drumming and how he uses Roland electronic gear to enhance his performances with Kane Brown.
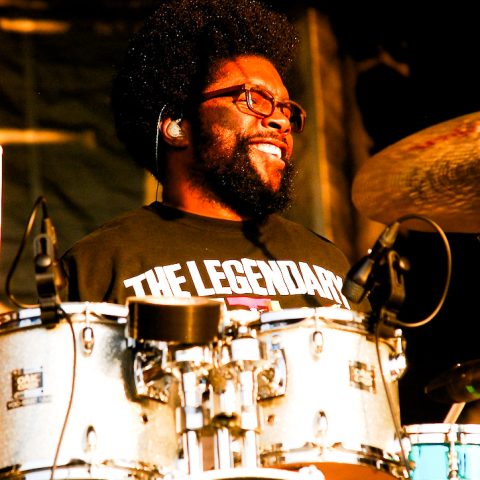
Explore the history and sound of the Roots' beloved track, “Mellow My Man," and learn to play some of drummer Questlove's iconic patterns.
808 State’s ode to the Roland TR-606 has stood the test of time as one of the quirkiest yet most trailblazing tunes in their discography.
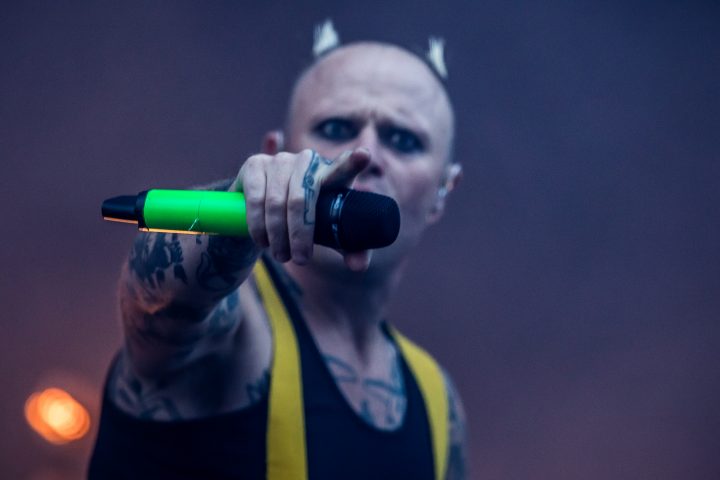
The track contains all the hallmarks of classic Prodigy: a blistering synth hook, heart-stopping guitars, and the smack of the Roland TR-707.
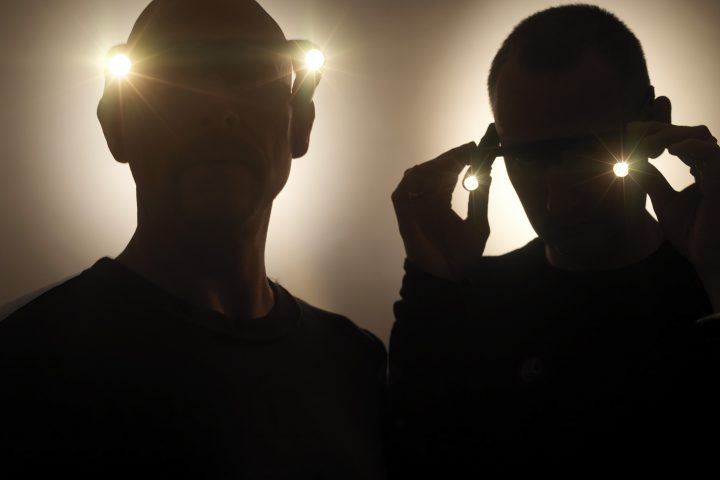
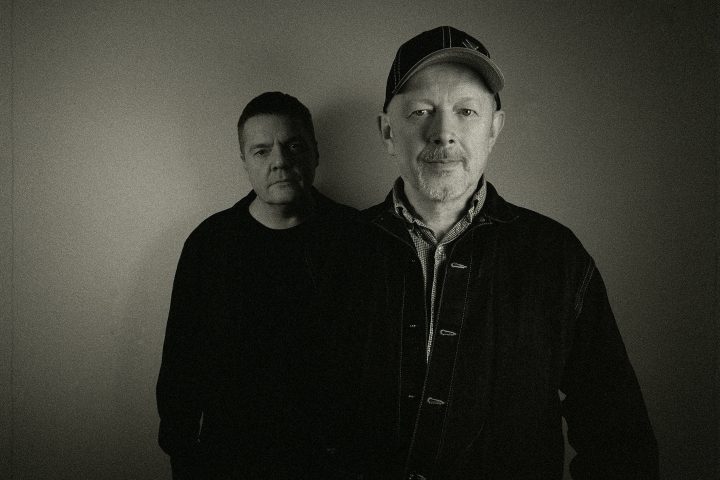
Orbital share memories of “Chime," the track that turned them into electronic icons, helping bring acid house from raves to Top of the Pops.

When that muted guitar lick comes in against those TR-707 rimshots, it feels too good not to dance. This is the tale of the INXS classic.
Live electronic music performance creates a unique interaction between performer and listener. Discover how it is both exciting and transformative.
With useful upgrades, the TD-07 series is perfect for the progressing drummer or beginner wanting something more from the get-go.
Prepping for a big gig or woodshedding to improve your chops—these V-Drums exercises will help build precision, timing, and more.
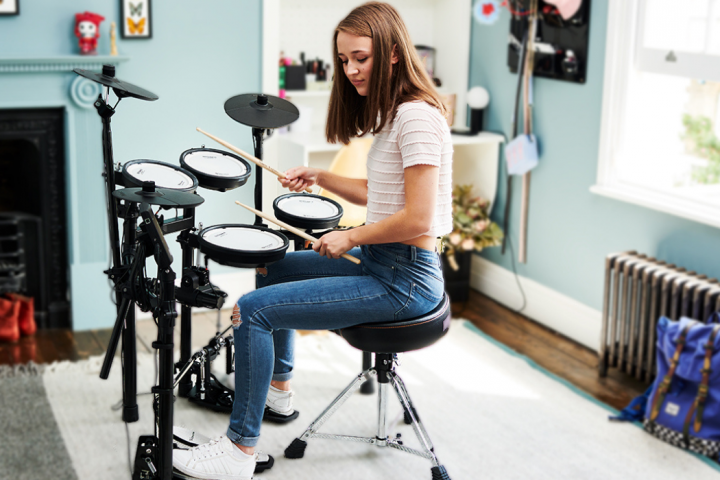
The Roland TD-1 series gives beginning drummers everything they need to enjoy the instrument and excel without breaking the bank.
Hybrid drumming blends acoustic and electronic elements. Abe Cunningham of Deftones and tech Ed Davis explain their approach to the style.

Playing backing tracks and samples live is one of the most common new experiences a drummer encounters. Tools like the SPD::ONE WAV PAD offer solutions.
Darren is Percussion Product Manager for Roland Canada. He loves motorcycles, loud drums, and the great outdoors.
Jordan Blum resides in Philadelphia and holds an MFA in Fiction. He’s Editor-in-Chief of The Bookends Review, author of Jethro Tull: Every Album, Every Song and Dream Theater: Every Album, Every Song, Associate Editor at PopMatters and a contributor to CoS, Kerrang!, Metal Injection, and PROG.
Peter Kirn lives in Berlin and is editor of CDM.link. He is an electronic musician and technologist with a background in composition and musicology, producing both experimental and club music and speaking around the world about new expressive technologies.
Simon is a musician, drummer, software designer, sound engineer, and V-Drums Specialist for Roland Australia.
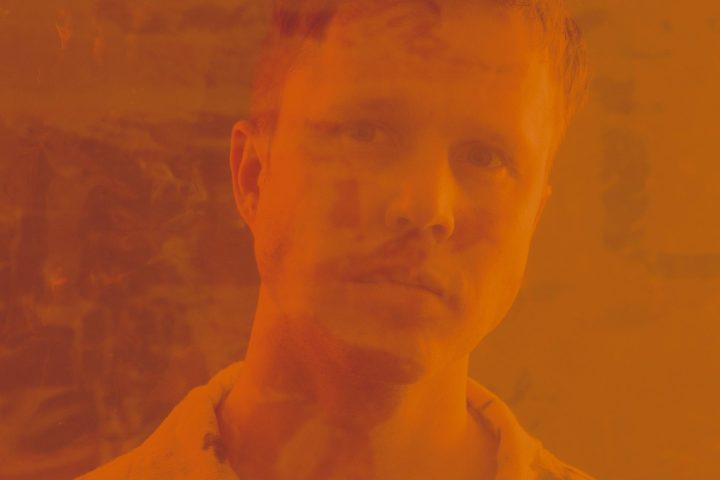
Daktyl is turning heads with his distinctive beats. The self-proclaimed gearhead discusses his influences, sample arsenal, and collabs.
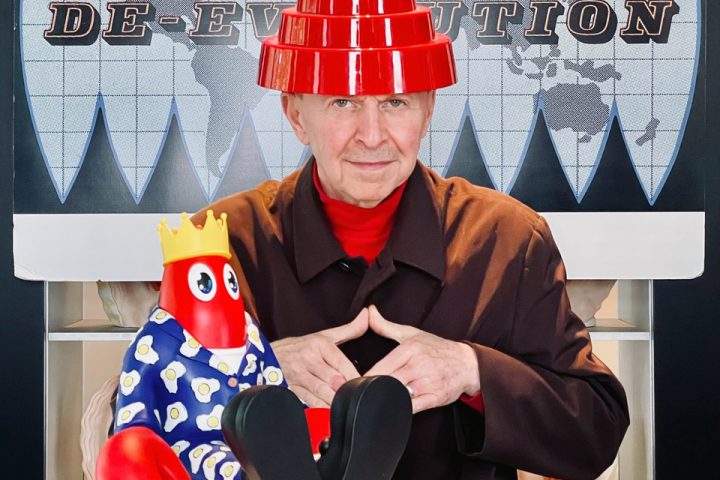
Devo's cult status remains indelible. Co-founder Gerald V. Casale reminisces about the band and its longstanding association with Roland.
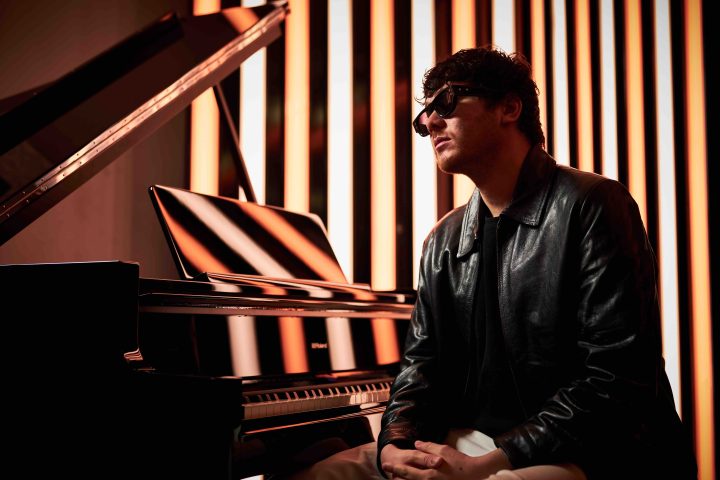
Kamaal Williams’ music is a genre-defying feast for ears. He speaks about his percussive approach to piano and his love of Roland gear.

Few names are more synonymous with New York house than Roger Sanchez. The legendary DJ talks about process, philosophy, and Roland Cloud.

Rarelyalways opens up about his eclectic influences, the unpredictable ways inspiration strikes, and how he sometimes denies his identity.