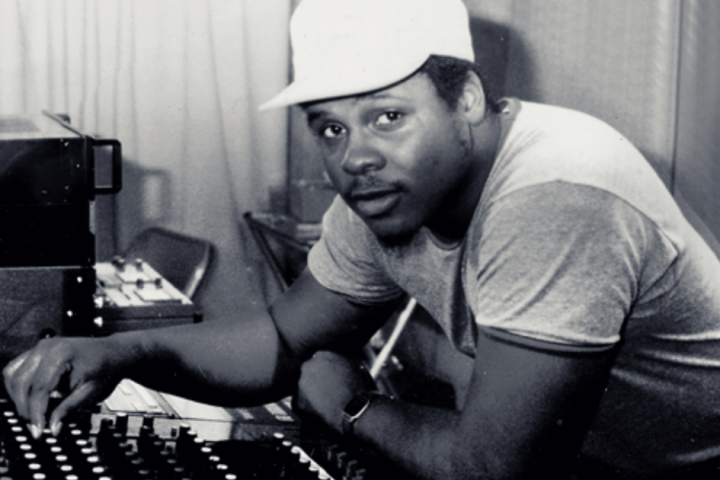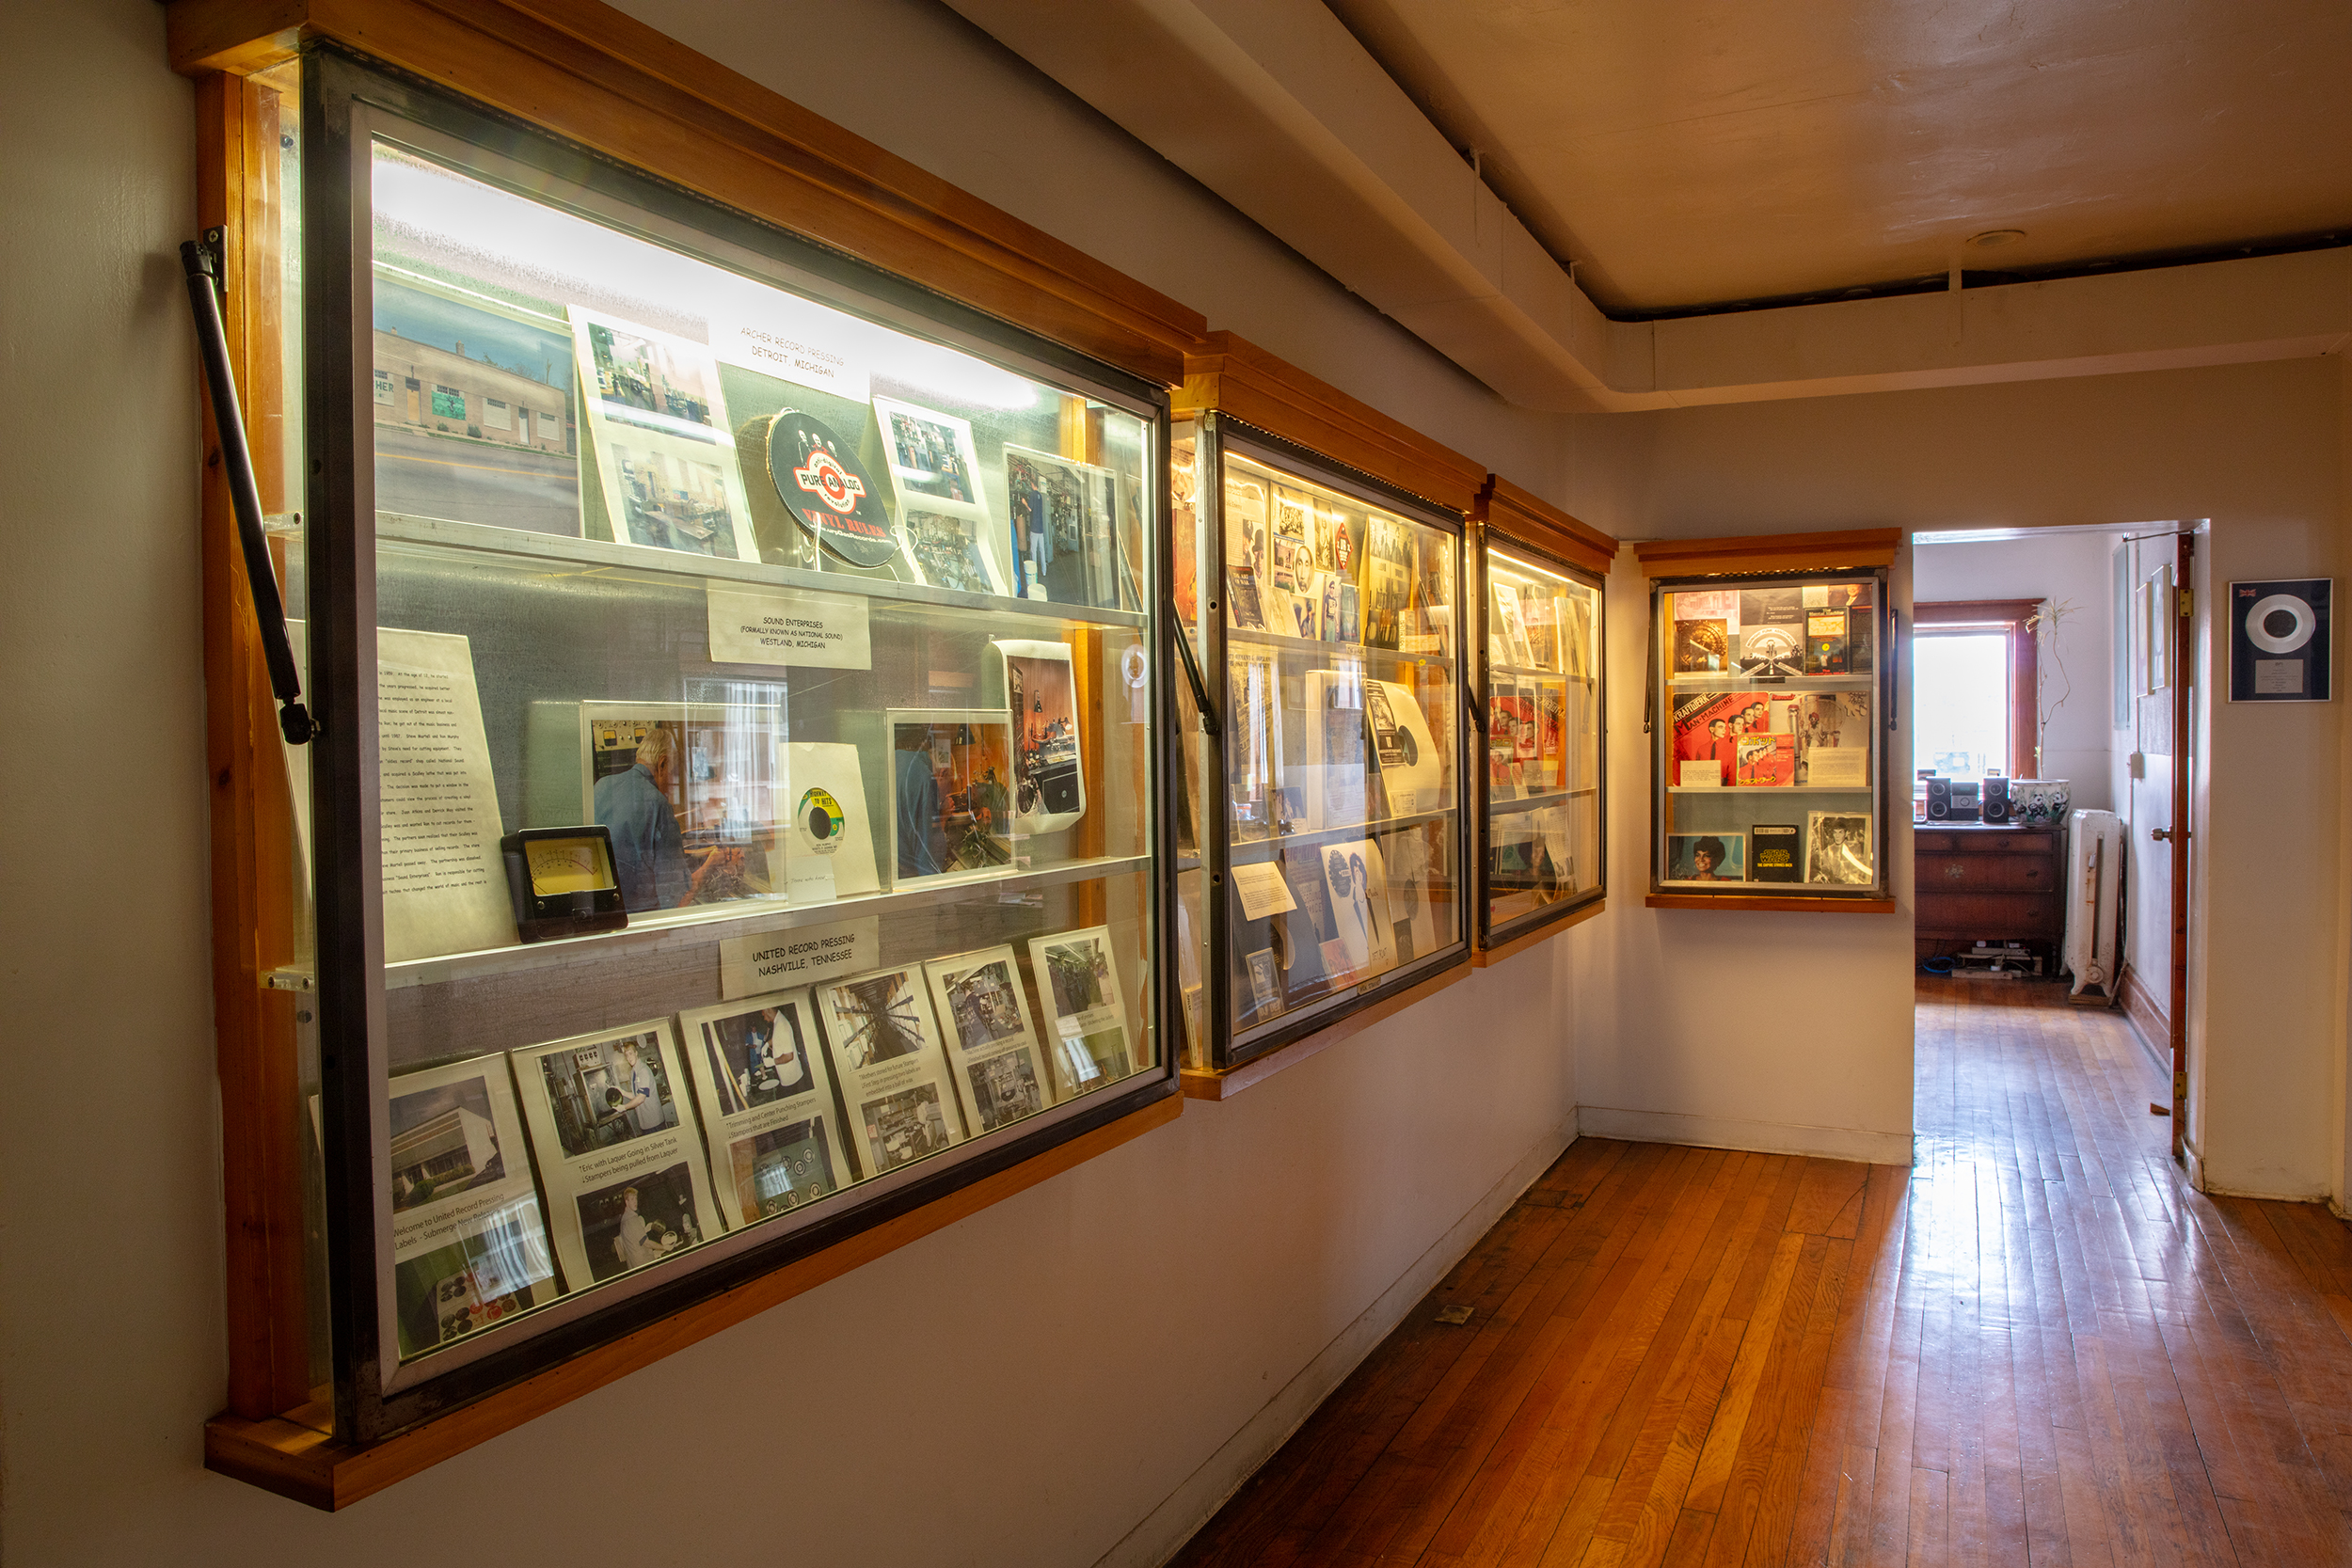
Museum, artist incubator, distro, and record store—Submerge and Underground Resistance represents the interconnected Detroit music community.

These inspiring female producers have left their marks on the music industry and continue to carve space for newcomers.
FEATURES
See All »
“Axel F” is the inescapable theme song of the classic '80s romp Beverly Hills Cop. Learn about the oddball hit and its pioneering creator.

Social media can reinvigorate vintage hits and help them reach broad new audiences. Here are some classic songs that got a second spin.

The brainchild of housemates recording late-night jams onto cassette, Night Tapes explains the process behind their atmospheric dream pop.
LISTENING GUIDE
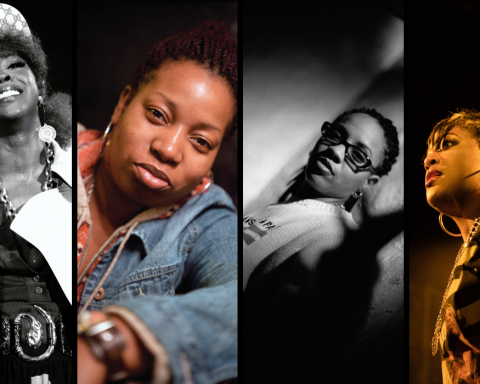
Before hip-hop was the world's most dominant musical genre, several groundbreaking women blazed a fiery trail for others to follow.
Learn
See All »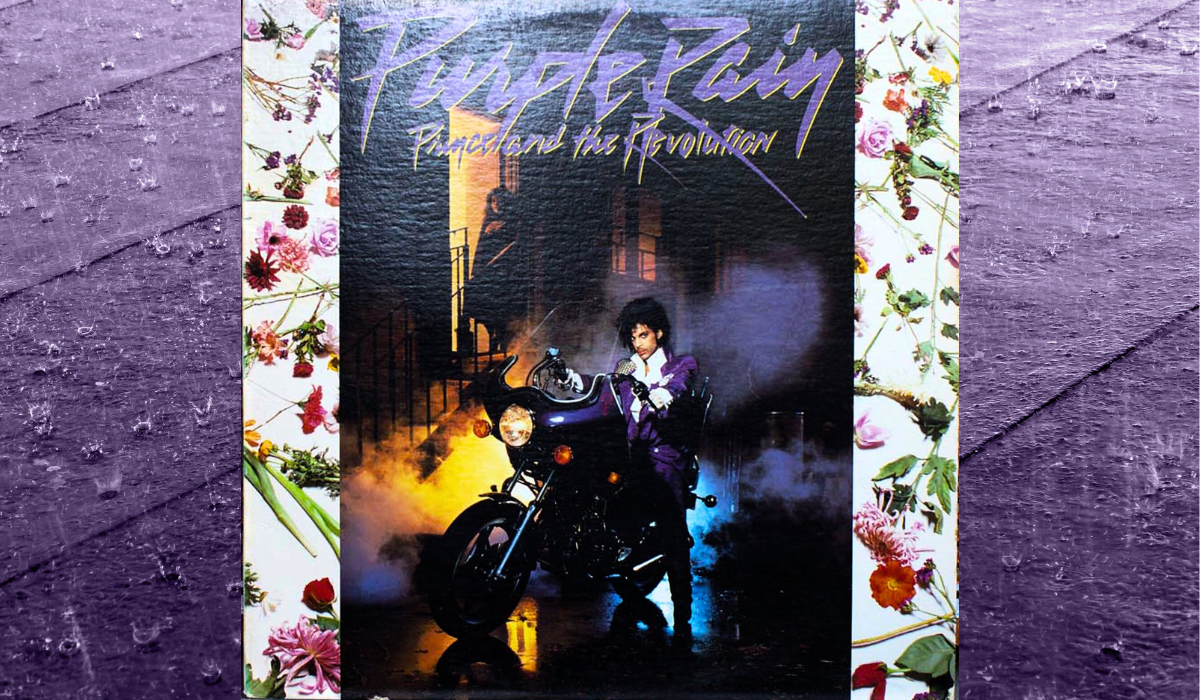
The “Purple Rain” drum parts by Bobby Z. provide a classic example of how to play a power ballad for maximum emotional impact.
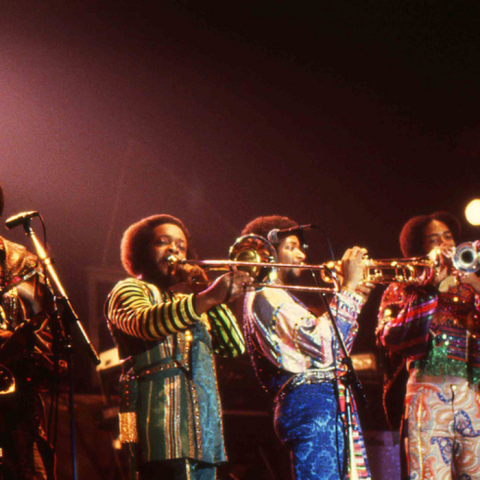
The drumming on the eternally funky “Let’s Groove” demonstrates how powerful disco rhythms can make listeners get up and move.

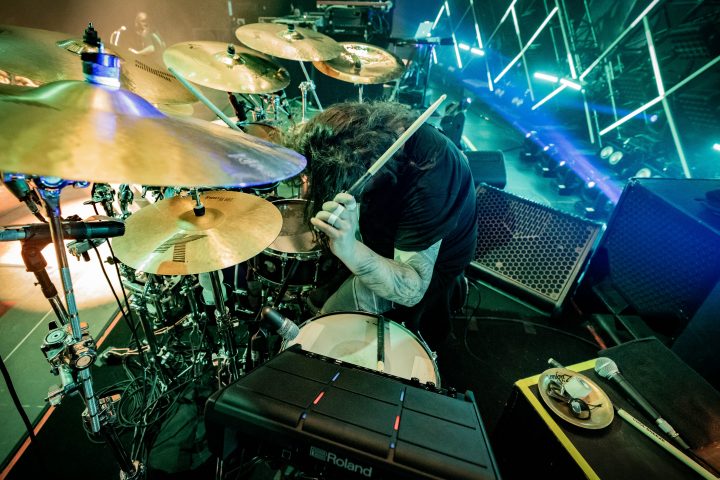
Josh Manuel discusses hybrid drumming and how he uses Roland electronic gear to enhance his performances with Kane Brown.
SOUND BEHIND THE SONG

Orbital share memories of “Chime," the track that turned them into electronic icons, helping bring acid house from raves to Top of the Pops.
GAIA 2
SPOTLIGHT

Live electronic music performance creates a unique interaction between performer and listener. Discover how it is both exciting and transformative.
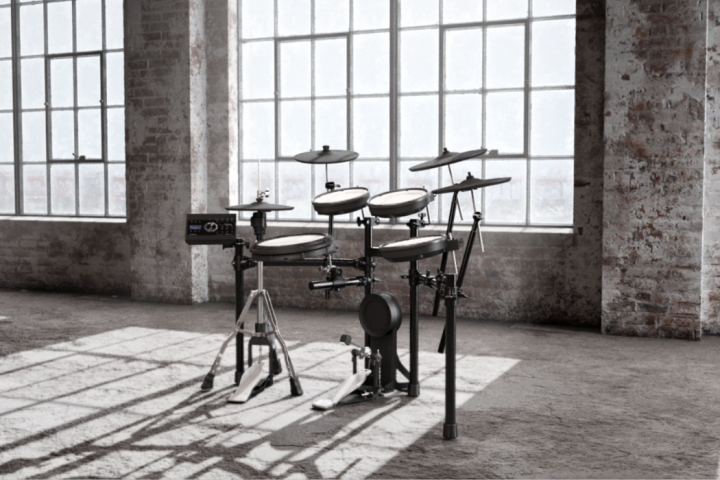
DRUMS
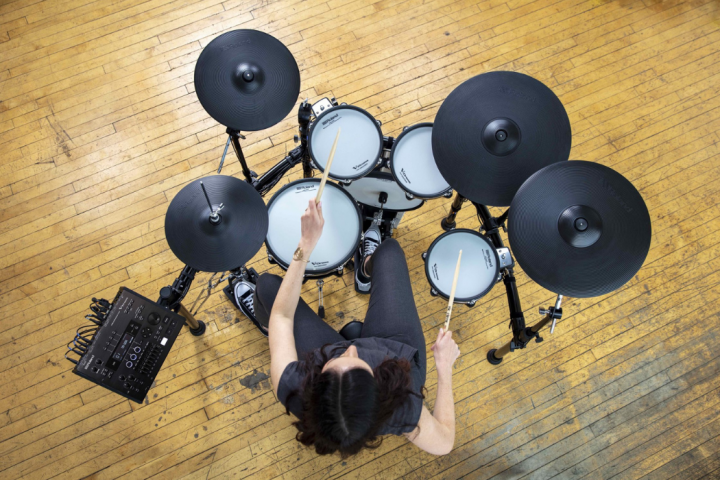
Learning a new instrument may seem hard, but drums are a great place to start. Get a foundation in rhythm and find a lifelong love for music.
Our Contributors
See All »Francis Preve is an Austin-based music technology consultant and veteran producer whose discography includes Top 10 releases on Beatport and Billboard. His work as a professor includes developing curricula for the Texas state school system and serving on advisory boards for SXSW and The Moog Foundation.
Jack is Digital Marketing Assistant at Roland Corporation Australia. He is passionate about video games music production and composition, so outside of work, you'll likely find him holed up somewhere playing games or making music.
Jessica Roemischer is an award-winning pianist and storyteller, and a beloved teacher. In unique performance events, podcasts, and writings, Jessica uplifts the human spirit through the evocative power of word and music. New York-born and raised, she lives in Sydney, Australia. Find out more at www.pianobeautiful.com.
Lisa is a Roland Artist Relations representative. She's also a lifelong musician with an extensive touring history and discography.
A FEW MINUTES WITH
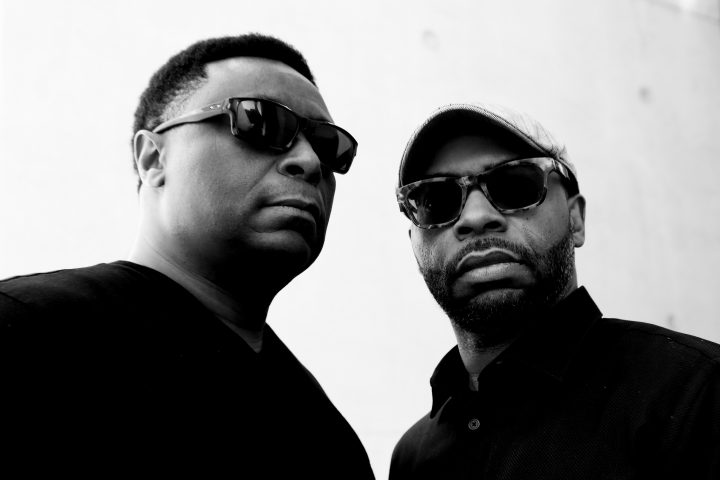
Octave One’s Lenny Burden reveals the tools and techniques behind the duo’s tactile, electrifying live sets.

Philip Woo opens up about his influences, the artistic hub of Seattle’s Garfield High School, and what keeps him dedicated to music.


